As I am sure many people have been doing during lockdown I decided to finally do some DIY and re-decorate my downstairs toilet. Probably sounds like the least exciting room, but starting small, to practise my painting skills! Now this room has been completely untouched in the six years we have lived in the house, we never really used it as we had our cats litter tray and stored little man's buggy in there, so it was a just basic new build downstairs toilet - magnolia walls, white ceiling and honestly all that was in here was the bog brush & loo roll. A room much in need of a makeover and on a more practical note, little man is starting to potty train so having an accessible toilet downstairs is a must have. I decided I wanted one room in the house to be dark and dramatic after finding some gorgeous rooms on Pinterest but I was a little scared so I thought this was the perfect room to try out a darker paint colour as it isn't massive and if I like it then maybe there will be a little more drama else where in the house in the future.
So I began the process how I always do......went straight to Pinterest for ideas! The two below images are exactly what I wanted to achieve. Dark walls, white ceiling & skirting with gold accessories. I decided to keep our original wood effect lino flooring as there is nothing wrong with it and I liked the touch of wood within the room, plus it helped to keep my costs down. My theme was Opulent - rich, deep colour and lots of gold accessories.

This project was planned to be a quick update, and I actually managed to paint this room in one day! The navy walls had two coats, while the ceiling & skirting just needed one to freshen them up as I wasn't changing the colours. I opted to use a paintbrush on the walls (controversial maybe) as there just isn't space to use a roller without lots of splatter and I wanted to keep mess to a minimum! Very proud as I did this room all by myself and aside from one rogue blob of navy on the ceiling, it went without a hitch. So are you ready to see the difference a lick of paint makes....
Before & After
So annoyed at myself, I didn't take a true before shot - it looked no different to this other than there was no plastic covering the loo! (I got too excited and forgot!). I am so pleased with the end result, looks so much more like its part of the house rather than a cold, magnolia cupboard - gone is the kitty litter box and in it's place an inviting space. I was a little worried the dark colour would make the small space seem smaller but actually it works so well, the bright spotlights and white ceiling really help to light up the room. Hubby wasn't 100% on my colour choice but really likes the outcome.
The Finishing Touches
So there are so many elements to this room that I want to share, I completed this on a budget so everything in this room came in under £100 total.
First up is the sink - while the actual fixtures in the room were completely fine and didn't need replacing, I wanted to update the splashback tile as it was a beautiful cream tile with iridescent giraffe print on it, but as the builders only used one tile the pattern is lost and you only see it from certain angles, plus the cream shade looked odd as all other elements are white. I found the most amazing tile stickers from Amazon through a lady I follow on Instagram, updating the basic boring cream tile to these amazing subway tiles - just stick on top of a clean tile.....and they peel off again too. I love how they look and how clean and simple the sink looks, plus they were really easy to apply, the joins lined up perfectly and will be easy to wipe clean.
Now onto the decorative touches - kept these fairly simple, didn't want to clutter the room, just added the basics in.
One of the hardest pieces to find for this room was an attractive toilet roll holder. I didn't want to have to drill holes in the wall so a free standing one was my only option. I loved the design of this one and it works so well in the space and it didn't cost a fortune. I was going to spray paint it gold but decided this was a little overkill so have left the grey as is and I think in the corner it has a nice contrast against the dark wall and white radiator. This came from B&M and is also available in a gorgeous blush pink shade.
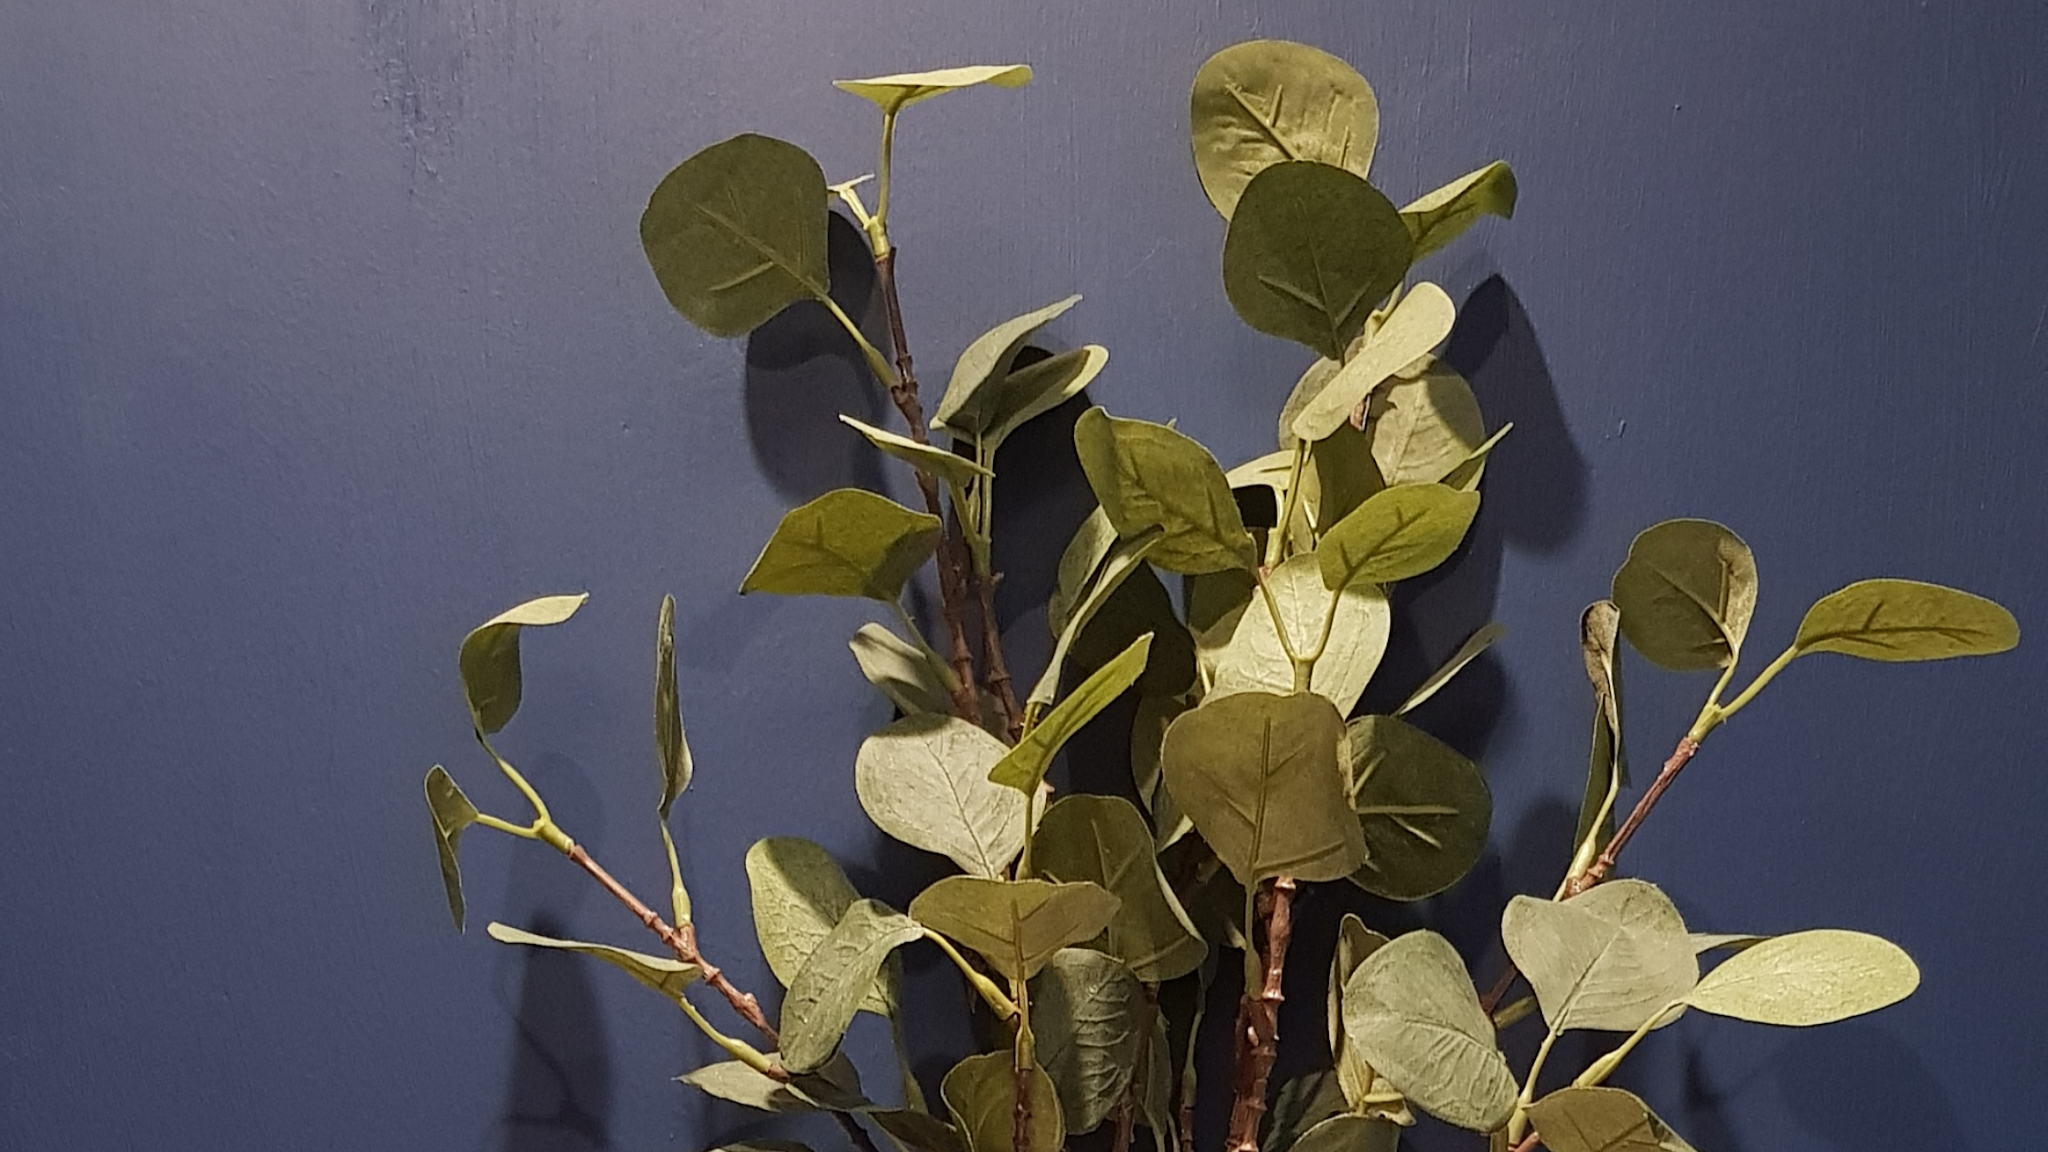
The little cactus vase on top of the toilet was actually the piece that started this room off - I bought it a few years ago from Primark and its has just been sat on a window sill, but I knew it needed to be in this room. I have had it sat on the loo with a tester swatch of paint sat behind it for about 3 months! but the combination of gold & navy made me so happy. I have dressed it up with some faux eucalyptus branches from IKEA and I love it! Sat next to it, a reed diffuser, which is a must especially in a bathroom - this Primark peony scent is my go to scent. Finally in this area the HAPPY sign was a recent post lockdown find also from good old Primark, originally it was mint green but I spray painted it gold just to tie it into the room, and it's a cute addition and helps to break up the block colour on the back wall.
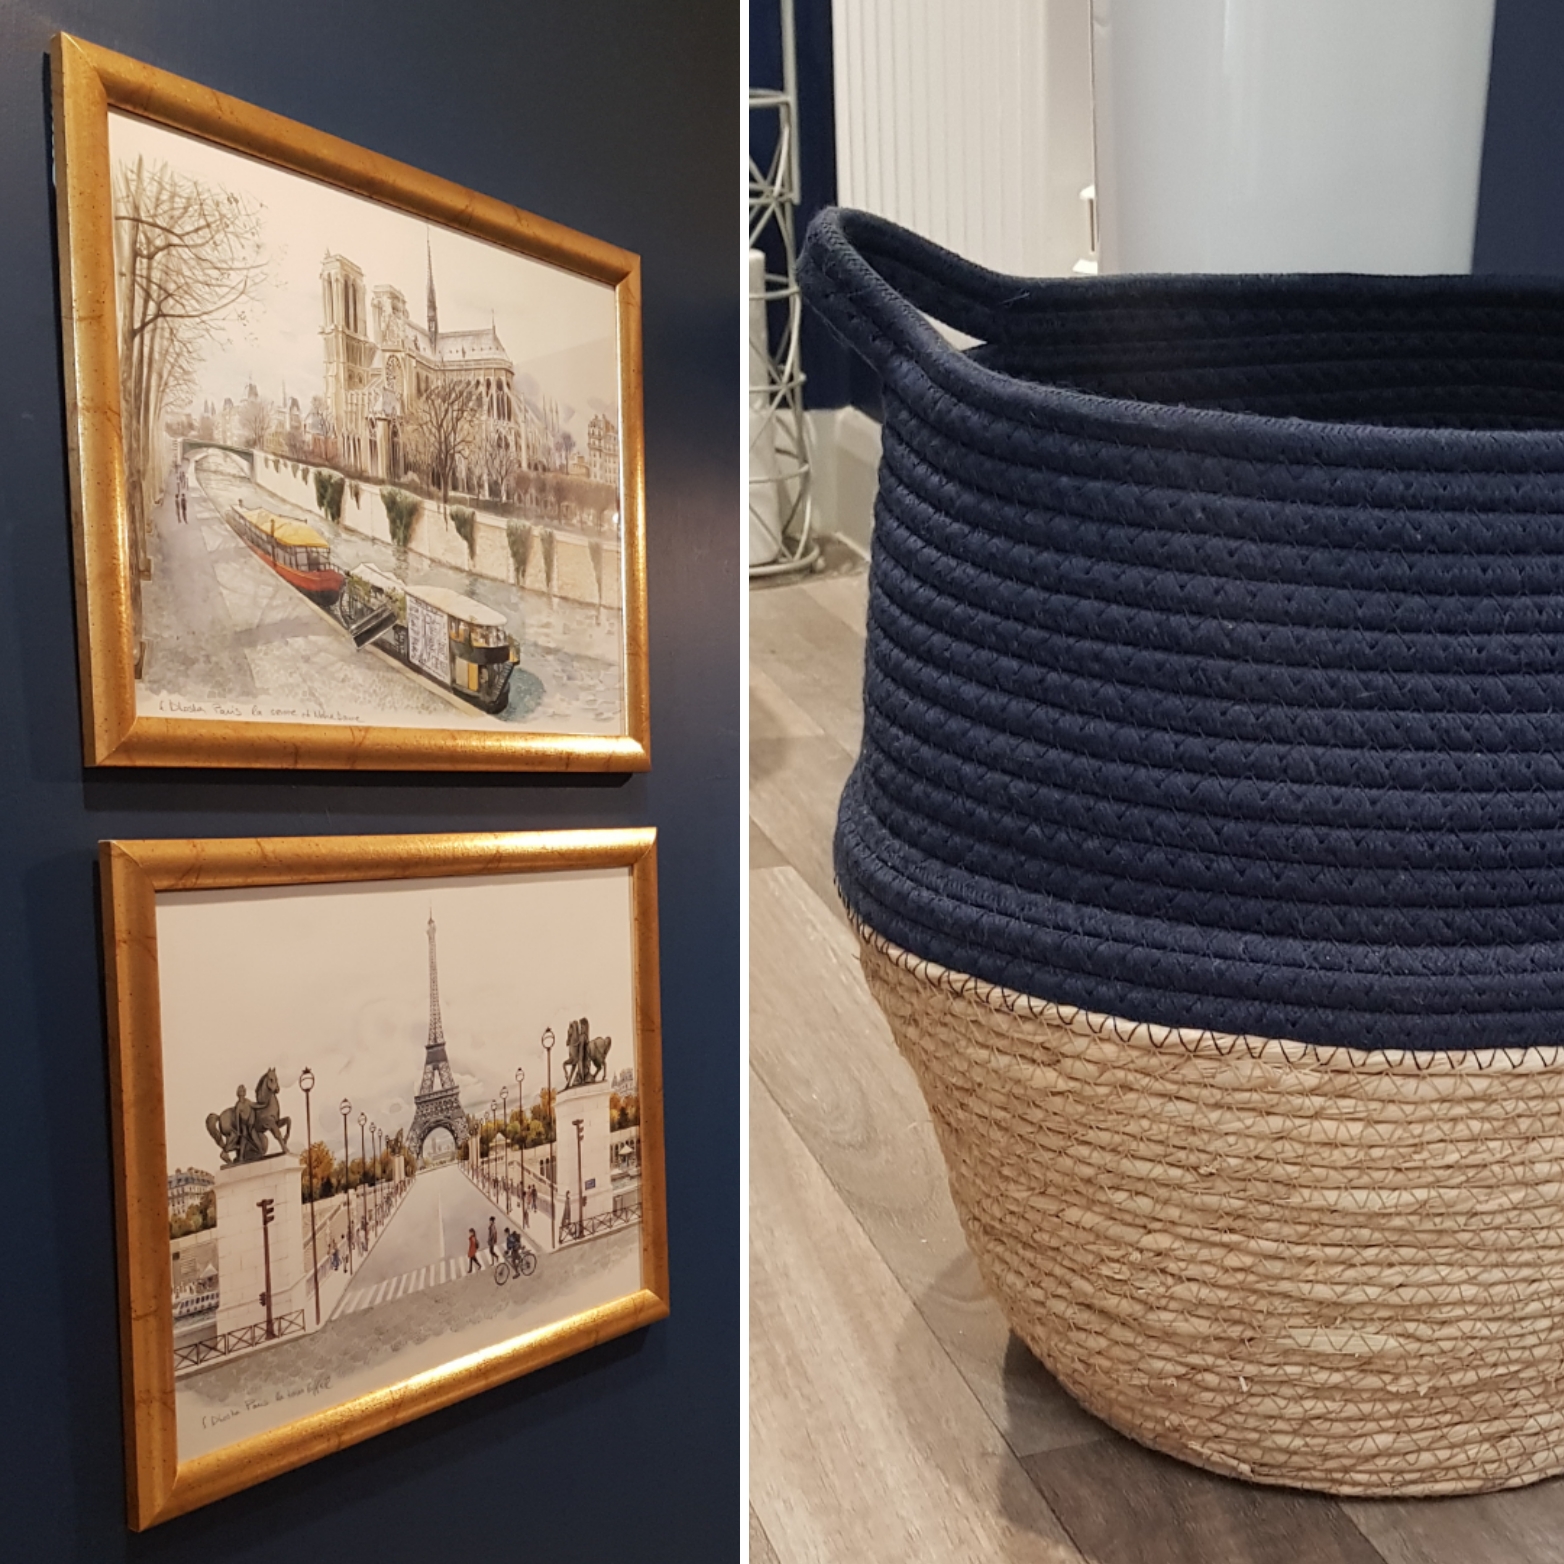
The artwork in this room was actually repurposed, these two Paris prints (that we bought when visiting the city) were originally in this room but in cheap clip it frames. I opted for something a little more luxurious and these chunky gold frames from EBAY are perfect on the large wall, again breaking up an expanse of navy and I like these pictures have meaning, not just something pretty.
Another item that has been sat in my house for a few months, I bought this navy/natural basket in B&M along with a grey version and it is the perfect finishing touch. Currently has wellingtons in but this may change. I like that it is a practical piece as well as looking pretty nestled under the sink.
Now can we take a moment to talk about my gorgeous faux plant. I bought the gold pot/wooden stand back in 2017 from my favourite little boutique in Market Harborough (sadly no longer there) and spent weeks trying to find a plant to go in it. I finally found this one in Matalan and it is just the perfect shape and size to sit down the side of the toilet. I love faux plants (I kill the real thing way to easily!) and I felt like green was a great partner to the dark navy walls and bold gold accessories. Something about plants makes a room seem a lot more homey and finished.
Finally the mirror - this was something I bought when we move in six years ago, but I can't remember where it was from. It used to live in the family bathroom but wasn't big enough for the space so I moved it downstairs and it works so well. A antique distressed gold finish with a rope hanger.
So that's the room..... below is what I bought and my final cost for this project.....
⎯⎯⎯⎯⎯⎯⎯⎯⎯⎯⎯⎯
My Shopping List
Walls - Dulux Walls & Ceiling paint in Sapphire Salute 2.5L £18
Ceiling - Dulux Brilliant white (free from a neighbour)
Skirting & Door - White Gloss (free from my dad)
Painting tools - Homebase/B&M, brushes, roller, tape etc £15
Mirror - Bought years ago, can't actually remember where from! (all ready owned)
Faux plant - Matalan (all ready owned)
Gold pot & Stand - Lily Loves Shopping (all ready owned)
Happy sign - Primark £3.50
Gold spray paint - B&M £3.79
Cactus vase - Primark (all ready owned)
Faux Eucalyptus - IKEA £2.50 each
Reed Diffuser - Primark, Pink Peony £3
Loo roll holder - B&M £8
Artwork - Paris (all ready owned)
Picture frames - EBAY £18
Two tone Basket - B&M £7.99
Hand Towel - Primark £3
Total: £85.28
Feel like I now have the decorating bug, have been looking at paint charts to start planning the next room!
Check out my Instagram @theglitterfashionista to see which room I tackle next!


Post a Comment